
Pick a level site, pour a stable base, paint lines, add posts, fence, and lights.
If you want a clear plan for how to build a pickleball court, you’re in the right place. I have designed and helped build courts for homes, schools, and parks. In this guide, I’ll show you the exact steps, pro tips, and common mistakes to avoid. You’ll learn costs, layout, drainage, lighting, and more, so you can build a court that plays true and lasts.

Planning, Permits, and Timeline
Before any digging, check zoning rules. Some areas limit fence height, lighting, or noise. If you add concrete or change drainage, you may need a permit. Call local officials. It saves time and headaches.
Create a simple site plan. Mark the court, fence, gate, and lights. Show slopes and where water will go. I like to sketch the area to scale. It helps plan space and access.
Set a timeline. A new concrete court needs cure time before coating. Plan 28 days between pour and paint. Factor weather. Paint likes warm, dry days.
Key documents you may need:
- Survey or plot plan to confirm property lines
- Utility locate to avoid hitting buried lines
- Stormwater plan if you regrade or add hard surface
If you are learning how to build a pickleball court for the first time, give yourself buffer time. Small delays can add up.
Choose the Location and Orientation
Pick a level, well-drained area. Avoid low spots. Keep clear space around the court. The play area is 20 by 44 feet. You need run-off space for safety. Aim for at least 10 feet behind baselines and 5 feet on the sides. A preferred pad is 34 by 64 feet.
Face the long axis north–south when possible. This reduces sun glare. Check wind patterns too. Trees help block wind but can drop leaves. Plan for shade at rest areas, not on the play zone.
If the ground slopes, grade it now. It costs less to shape dirt than to fix water later.

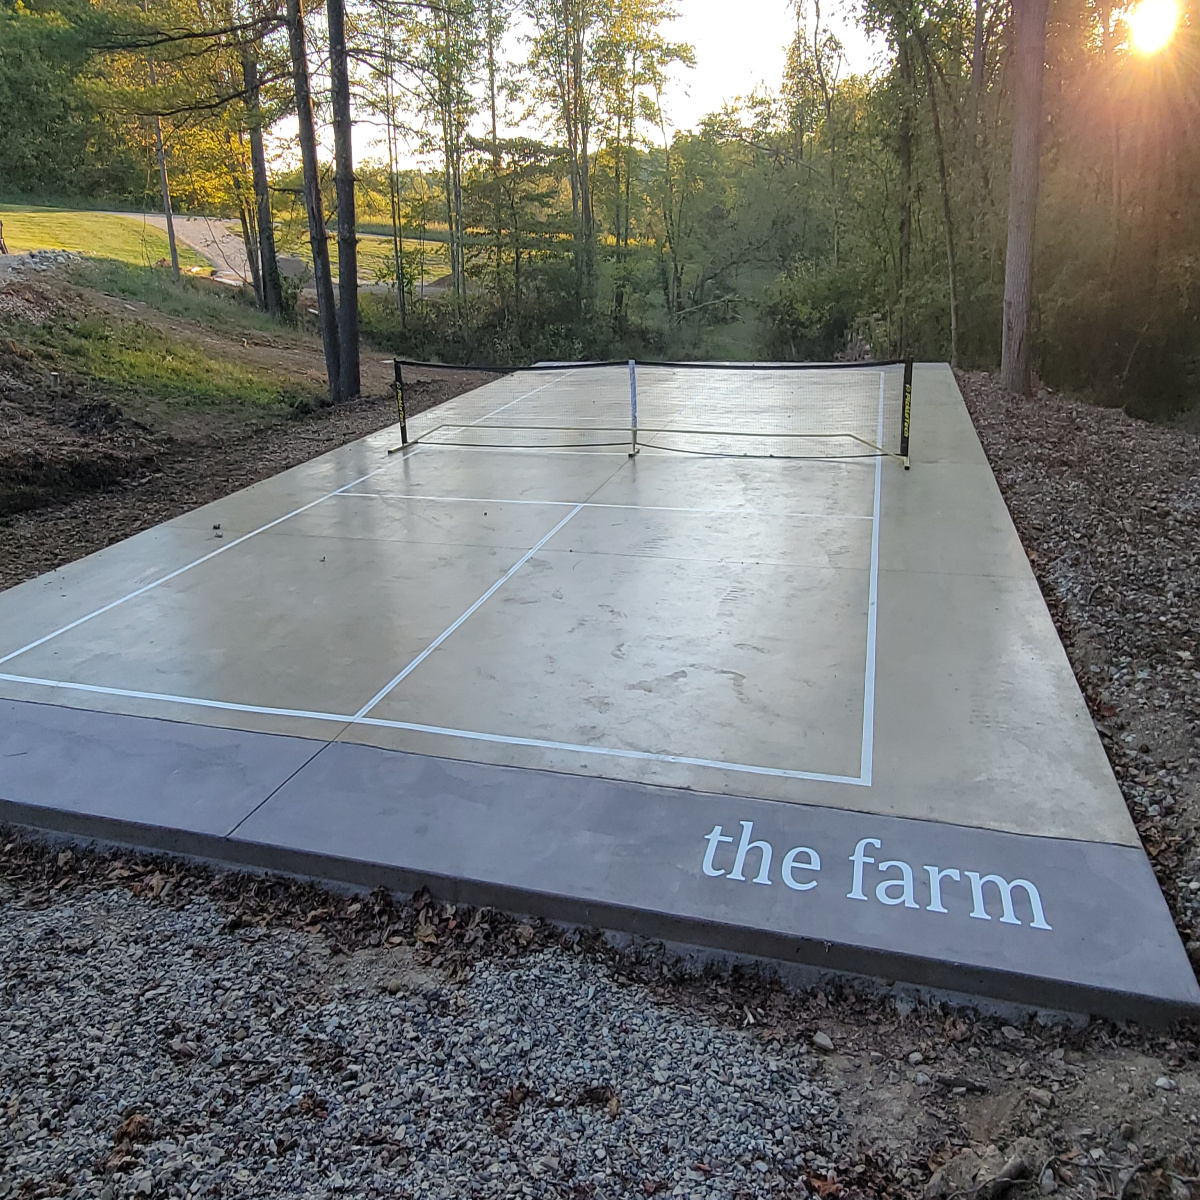
Court Dimensions and Markings
Use official dimensions for accurate play:
- Court size: 20 feet wide by 44 feet long
- Non-volley zone (kitchen): 7 feet from the net on each side
- Service boxes: split by the centerline
- Line width: 2 inches, in a high-contrast color
- Net height: 36 inches at posts, 34 inches at center
If you are mapping how to build a pickleball court in a tight yard, keep a minimum total pad of 30 by 60 feet. More space is safer. I like 34 by 64 feet when space allows.
Base Construction: Subgrade, Drainage, and Pavement
A court is only as good as its base. Poor drainage ruins surfaces and causes cracks.
Do this in layers:
- Subgrade: Remove topsoil and organic matter. Compact native soil.
- Drainage: Add swales or a French drain if water flows toward the court. Use geotextile fabric over weak soils.
- Base rock: Add 4–6 inches of compacted stone. Use a well-graded mix for strength.
- Pavement: Choose concrete or asphalt.
Concrete:
- 4-inch slab minimum with 3000–4000 psi mix
- Light broom finish
- Control joints at 10–12 feet spacing
– Slight slope of 1% for drainage - Let it cure 28 days before coating
Asphalt:
- 2.5–3 inches total in two lifts
- Smooth finish with proper compaction
- Also aim for 1% slope
I once tried a near-flat slope to “look perfect.” It looked great, but puddles formed after rain. We had to add saw cuts and strip drains. Do not skip slope when learning how to build a pickleball court.
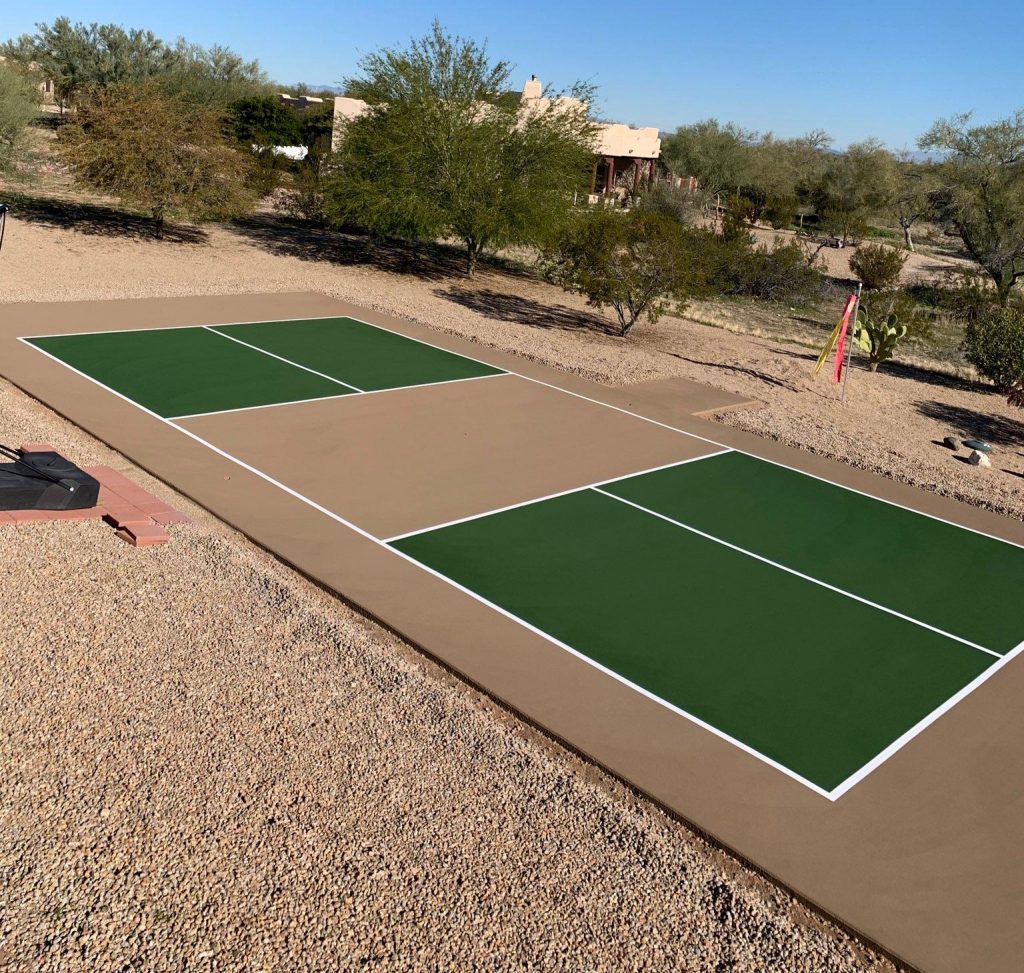
Surface Systems: Acrylic Coatings, Cushioned Layers, or Tiles
A good surface gives grip and speed while staying safe on joints.
Acrylic color coatings:
- Most common outdoor choice
- Two or more color coats over a primer
- Textured silica for traction
- Recoat every 4–7 years depending on use
Cushioned acrylic:
- Adds rubberized layers under color coats
- Reduces impact on knees and hips
- Costs more but feels great
Modular sport tiles:
- Fast install over sound base
- Drains well and can be replaced
- Slight bounce and sound difference
Keep in mind temperature. Apply coatings between about 50–90°F on dry days. Morning dew can ruin a coat. We once paused a job due to humid nights. Waiting a day saved us a redo.
If you ask how to build a pickleball court with the best balance of cost and play, acrylic over concrete is my go-to.
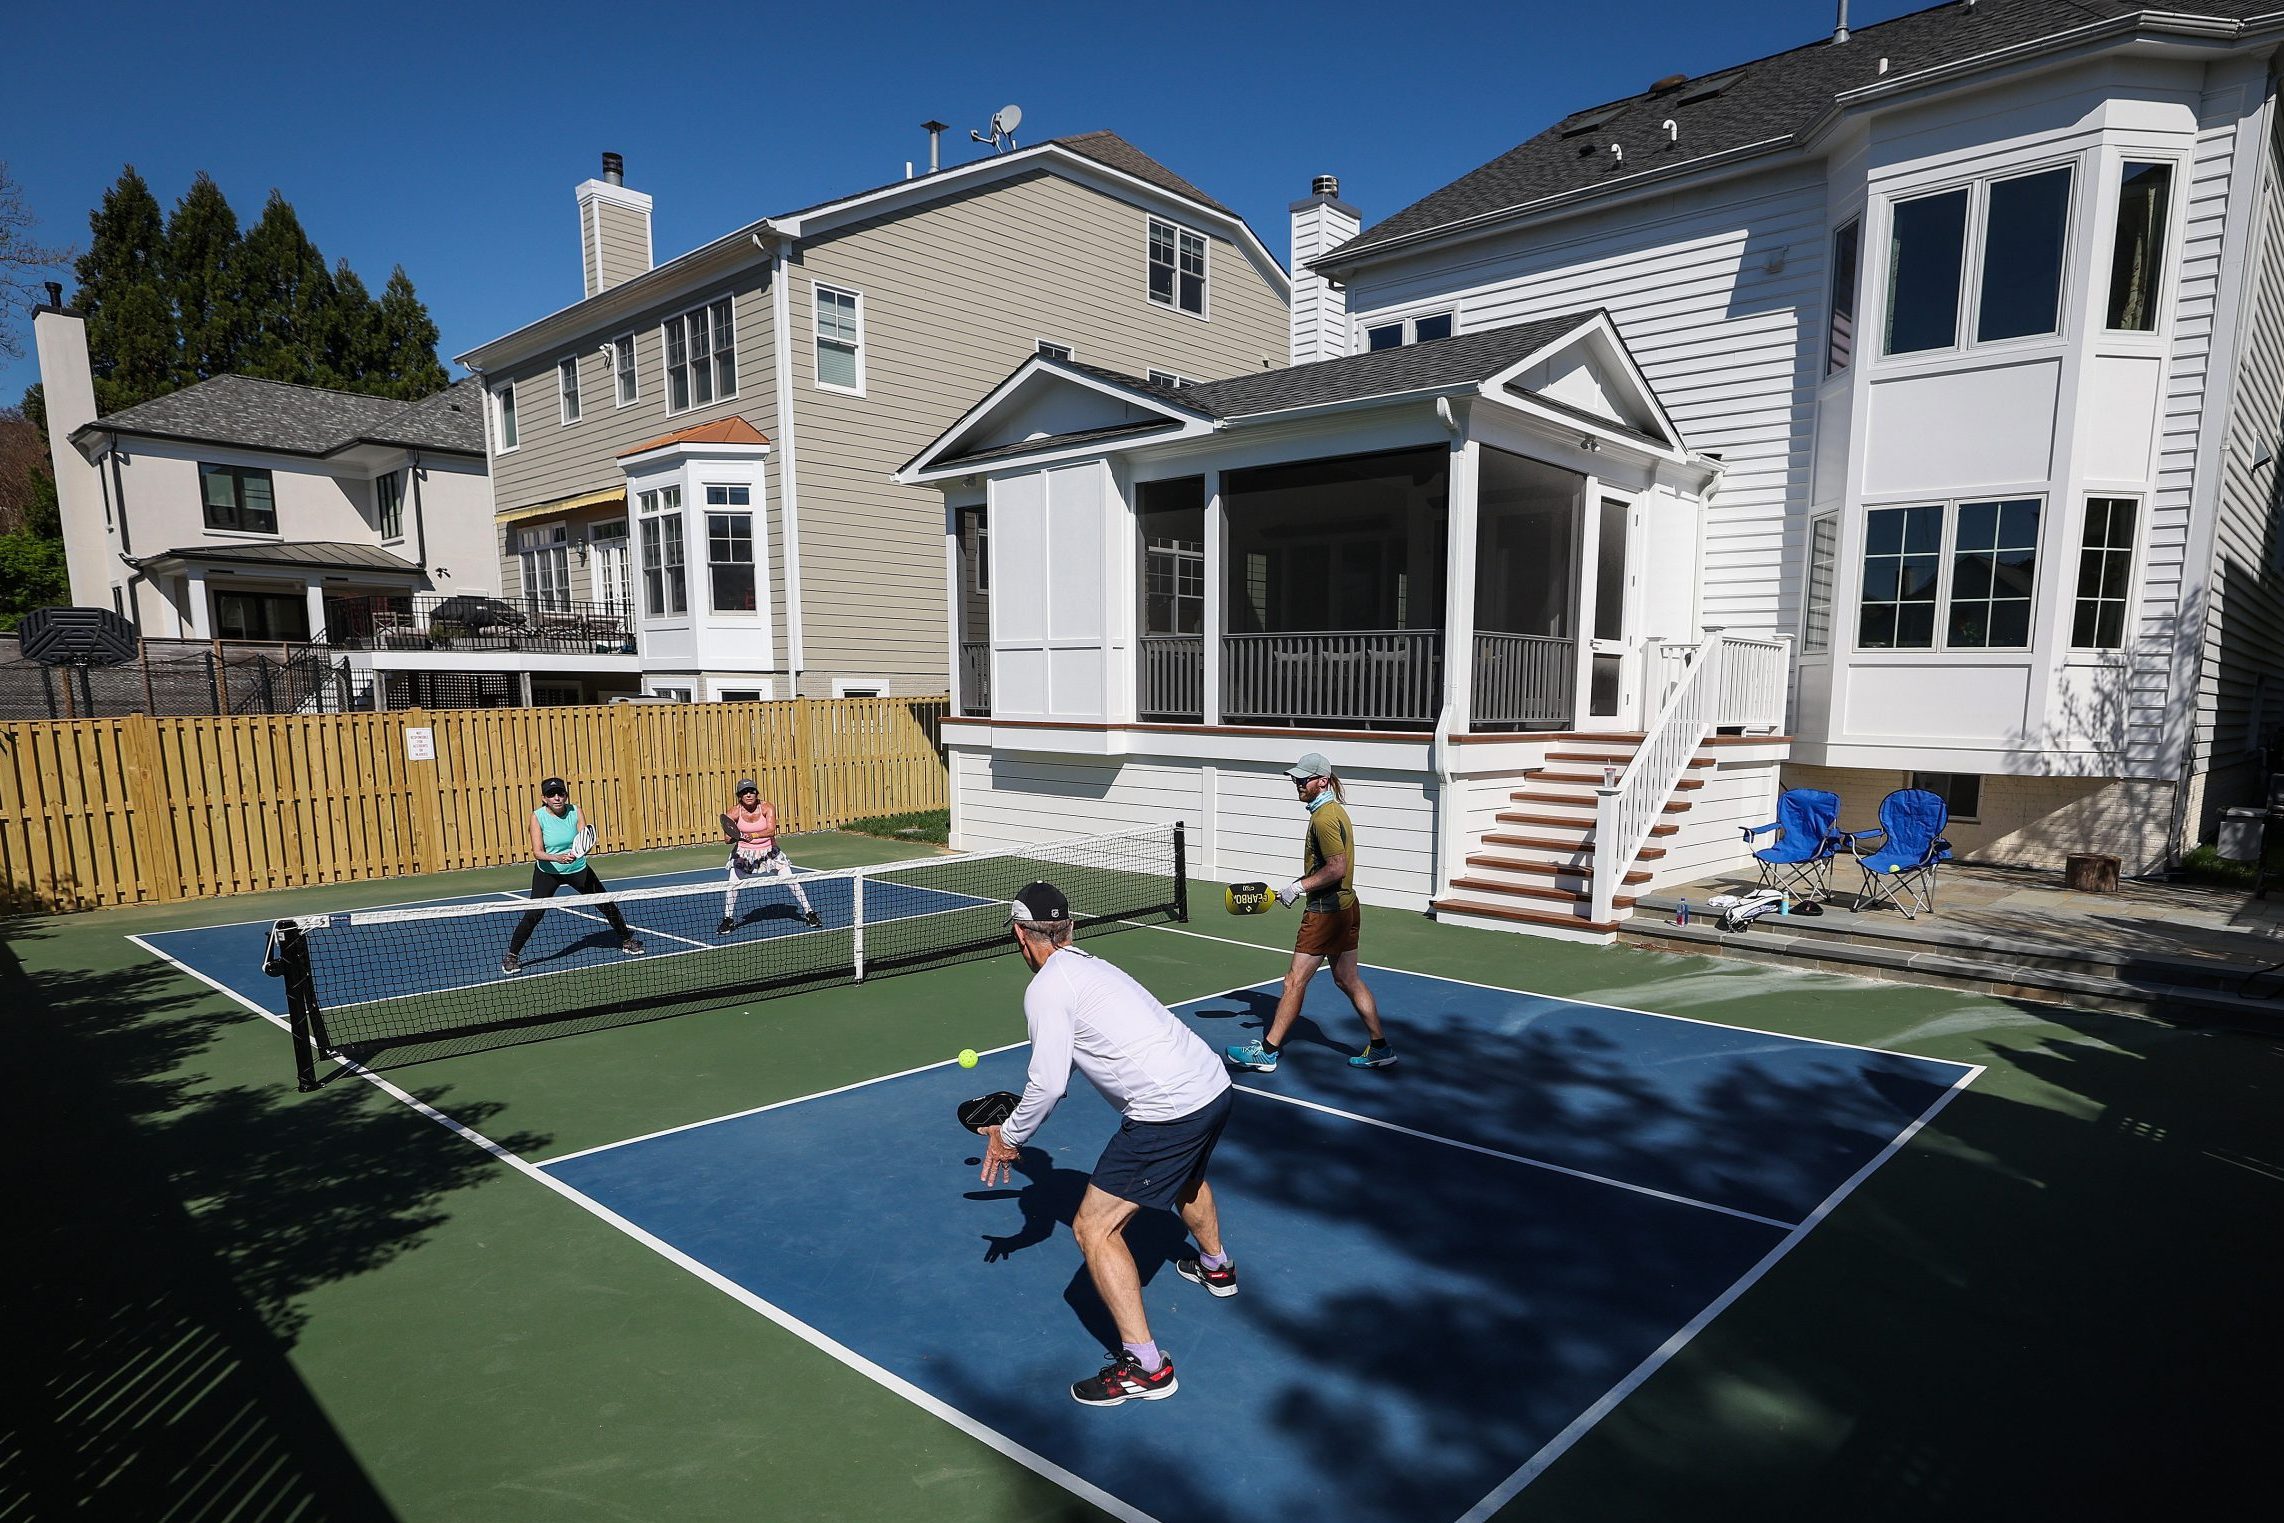
Fencing, Gates, and Windscreens
Fencing keeps balls in play and protects neighbors. Typical height is 10 feet. You can use 8 feet in tight areas.
Use black or green vinyl-coated chain link for low glare. Add bottom rails to stop balls from rolling under. Place at least one 4-foot gate. Add a 36-inch gate for accessibility.
Windscreens help with ball visibility and wind control. Choose 70–80% opacity. Keep screens off the ground for airflow.
If you plan how to build a pickleball court near homes, screens also cut noise and visual clutter.

Net Posts and Center Strap
Use dedicated pickleball posts with a center strap. The net is 36 inches high at posts, 34 inches at center.
Options:
- Permanent in-ground posts with sleeves
- Semi-permanent bases if you share space
- Portable systems for driveways or multipurpose areas
I prefer sleeves set in concrete. They stay true and are easy to replace. It is a small cost for long-term ease.

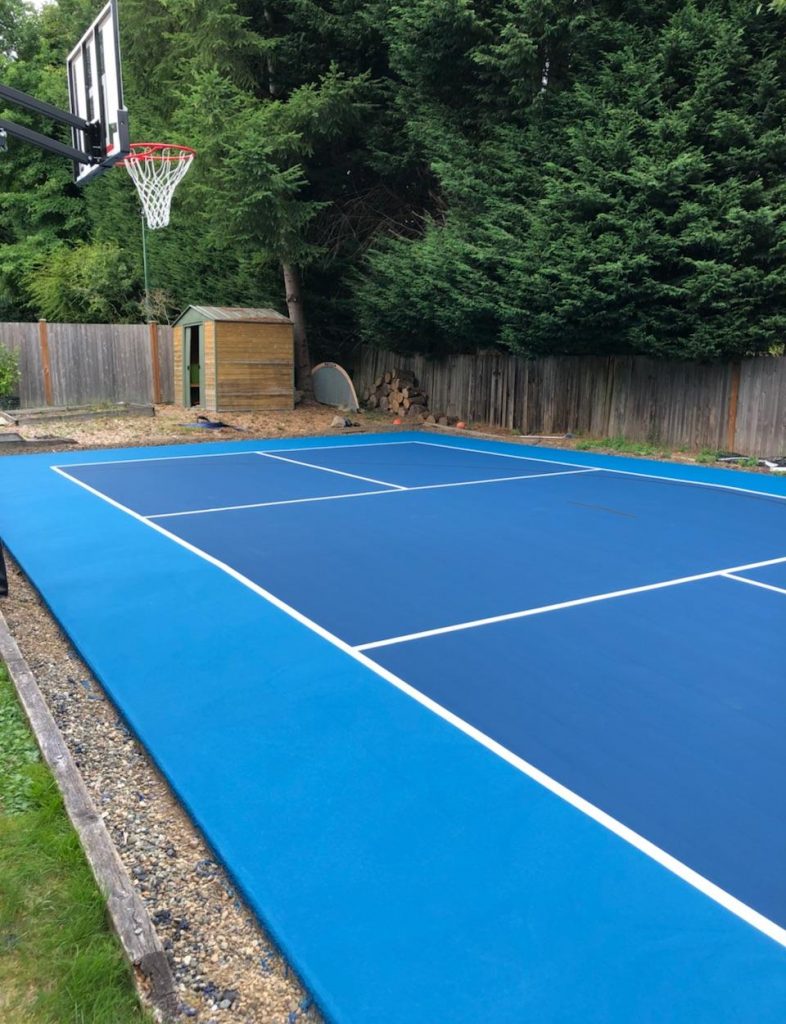
Lines, Colors, and Contrast
Use two court colors for contrast. A common setup is blue inbounds with green out-of-bounds. White lines pop in most light. Bright colors are fine, but avoid glare and heat on hot sites.
Line the non-volley zone at 7 feet from the net. Keep the line width at 2 inches. Use paint designed for athletic surfaces. Sharp, clean lines help players call shots fast.
When you plan how to build a pickleball court that is easy on the eyes, color contrast matters more than style.

Lighting for Night Play
Quality lighting changes everything. Aim for even light with low glare.
Basics:
- LED fixtures on 18–20-foot poles for one court
- Two or four poles, depending on layout
- Target 30–50 footcandles on court
- Use shields to reduce spill and keep neighbors happy
- 3000–5000K color temperature for a natural look
Check local codes before you set poles. I once had to lower pole height due to a view corridor. A better lens and aiming plan kept the light on the court.
If you review how to build a pickleball court for evening play, plan lighting early. Pole bases and conduits go in before surface coatings.
Benches, Storage, and Safety
Think about comfort and safety.
Add:
- Benches outside play areas
- A gear box for balls and paddles
- A water station or hose bib
- Shade sails or a small pergola
- First aid kit nearby
- Slip-resistant walkways
I also like to add a phone charging outlet by the seating area. Small details make the court feel pro.
Budget: What It Costs to Build a Court
Costs vary by region, soil, and site work. A single outdoor court from scratch often falls in these ranges:
- Site prep and grading: low to mid thousands
- Concrete or asphalt pad: mid to high thousands
- Fencing and gates: mid thousands
- Coatings and lines: low to mid thousands
- Lighting: mid to high thousands
- Accessories and windscreens: low thousands
A full build can range from about $25,000 to $60,000 or more. A simple DIY striping on a driveway with a portable net can be a few hundred dollars. When mapping how to build a pickleball court on a budget, start with what you already have.
DIY vs Contractor: Timeline and Tips
DIY works if you are painting lines or installing a portable net. For concrete, drainage, fencing, and lights, pros are worth it. Bad drainage or a poor pour costs more to fix than to do right.
Typical timeline:
- Planning and permitting: 2–8 weeks
- Site work and base: 1–2 weeks
- Concrete cure: about 4 weeks
- Coatings and lines: 3–5 days in good weather
- Fencing and lights: 2–5 days
If you are new to how to build a pickleball court, hire a pro for grading and base. You can still DIY paint or accessories.
Maintenance and Resurfacing
Clean the court monthly. Sweep leaves and grit. Rinse with a gentle spray. Keep drains clear. Check net straps and post bolts twice a year.
Resurface every 4–7 years, depending on use and climate. Fix cracks early. There are repair systems for small cracks. If many cracks appear, review base and drainage.
If you want long life and you are focused on how to build a pickleball court that lasts, protect edges, fix chips fast, and keep water moving away.
Noise, Neighbors, and HOA Tips
Pickleball can be loud. Plan early to keep peace.
Ideas:
- Use windscreens to damp sound
- Add shrubs or acoustic panels at hot spots
- Choose paddles and balls rated for lower noise
- Set daytime play hours
- Share a calendar with neighbors
I once placed a small berm with shrubs along a fence line. It made a big difference in sound and look.
Common Mistakes to Avoid
- Skipping drainage planning. Water will find the lowest point.
- Pouring concrete and coating too soon. Let it cure.
- Using the wrong paint. Only use sport surface systems.
- No room behind baselines. Players need space to run.
- Poor net height control. Use a center strap every time.
These pitfalls come up a lot when people ask how to build a pickleball court without surprises. Slow down and check each step.
Step-by-Step Checklist
- Confirm property lines, utilities, and permits
- Choose site with room for a 34 by 64-foot pad
- Plan slope and drainage routes
- Excavate and compact subgrade
- Install geotextile and base stone
- Pour and finish concrete or lay asphalt with 1% slope
- Cure concrete for 28 days
- Install fence posts, fabric, and gates
- Apply sport surface system and texture
- Paint court colors and 2-inch lines
- Set net posts, net, and center strap to 34 inches at center
- Install lighting with shields and controls
- Add windscreens, benches, and storage
- Final walk-through and punch list
This list is the backbone of how to build a pickleball court from bare ground to game-ready.
Frequently Asked Questions of how to build a pickleball court
What are the official pickleball court dimensions?
A standard court is 20 feet by 44 feet with a 7-foot non-volley zone on each side. Plan for at least a 30 by 60-foot total area for safe play.
Should I choose concrete or asphalt?
Concrete is stable and long-lasting, and it takes coatings well. Asphalt is fine too, but it needs careful compaction and may soften in heat.
How much does it cost to build a court?
A new outdoor court often ranges from $25,000 to $60,000, depending on site work, fencing, and lights. Simple DIY stripe jobs with a portable net can be a few hundred dollars.
How long does construction take?
From planning to play, expect 6 to 12 weeks. Weather and permits can stretch timelines.
What lighting do I need for night play?
LED poles at 18–20 feet with 30–50 footcandles are common. Use shields to cut glare and spill light onto neighbors.
Can I build a pickleball court in my driveway?
Yes, if it’s flat and in good shape. Use a portable net and paint lines with sport-grade coatings.
How often should I resurface?
Every 4–7 years for acrylic systems, based on use and climate. Fix small cracks early to prevent bigger issues.
Conclusion
You now have a clear plan to go from bare yard to a true-playing court. Start with a solid base, manage water, and use the right coatings and gear. Small choices, like slope and line contrast, pay off every game. If you feel ready, map your site and call for a utility locate this week. If you want more help, reach out, subscribe for updates, or leave a comment with your project details.