
Build a sturdy plywood wall at a slight forward lean, anchor it well, and mark targets for realistic drills.
If you have wondered how to build a practice wall in pickleball, you are in the right place. I have built walls in garages and backyards, tested angles, and learned what works. In this guide, I will show you clear steps, smart design tips, and real drills so you get more reps in less time and improve faster.
Why a Practice Wall Works for Pickleball
A good wall gives you endless reps without a partner. It sharpens your timing, footwork, and paddle control. You can work dinks, drives, volleys, and resets in a small space.
The key is a consistent bounce and a forgiving face. A slight forward lean tames the rebound and keeps the ball playable. If you want to master how to build a practice wall in pickleball, you must get angle, height, and surface right from the start.

Tools and Materials You’ll Need
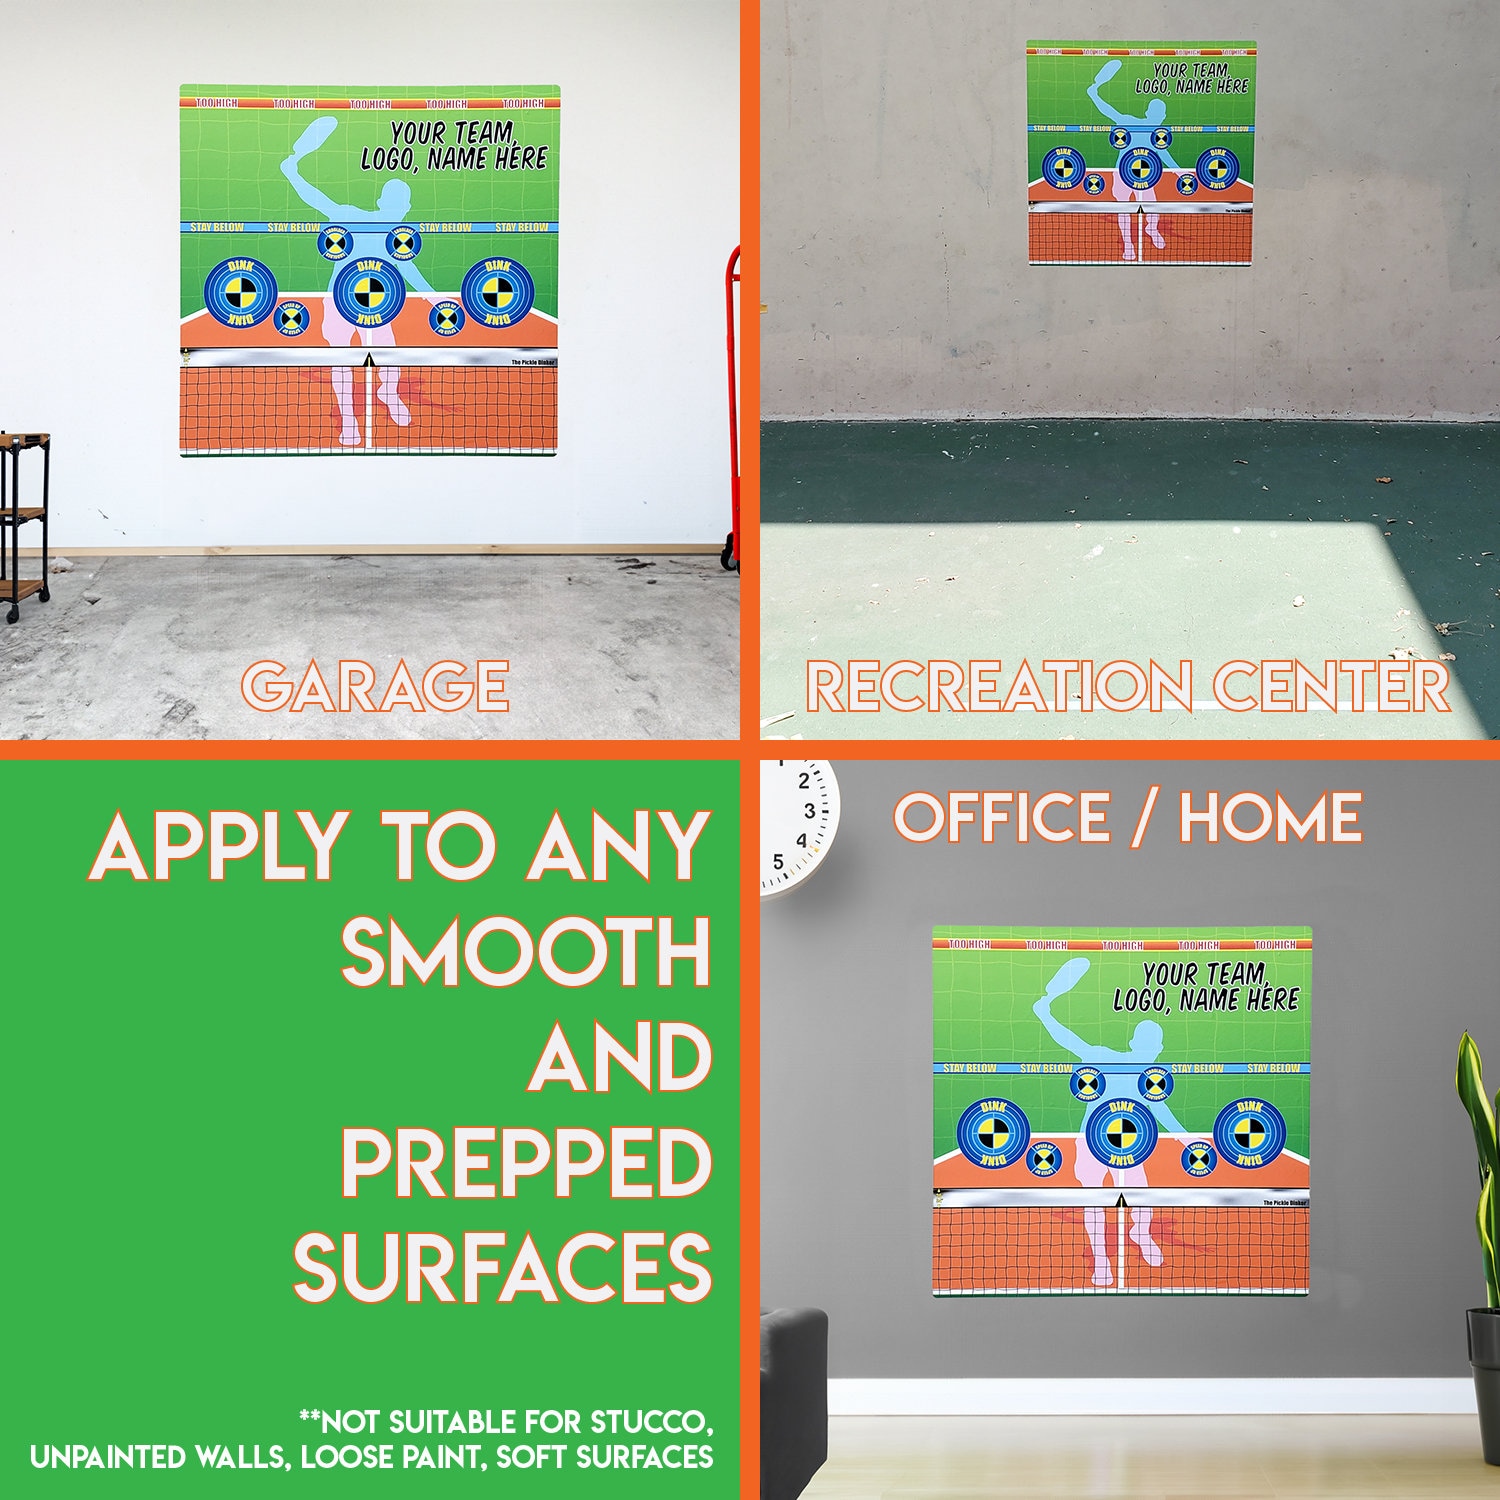
You can build indoors on a garage wall or outdoors as a freestanding panel. Choose materials that fit your space, budget, and weather.
Essential tools
- Tape measure, pencil, chalk line
- Circular saw or track saw
- Drill and impact driver
- Level and square
- Stud finder and masonry bit if needed
- Safety glasses and hearing protection
Core materials for the wall face
- 3 or 4 sheets of 3/4 inch plywood, MDF, or MDO
- I prefer MDO for outdoor use because it paints smooth
- Exterior primer and durable semi gloss paint
- Painter’s tape for net lines and targets
Framing and anchoring
- 2×4 studs for backing and bracing
- Construction screws and exterior deck screws
- Concrete anchors if mounting to block or slab
- Heavy duty angle brackets for the base and kickers
Noise and durability upgrades
- Rubber underlayment or acoustic mat behind the face
- Weatherproof sealant for edges
- LED shop light or outdoor flood light for evening practice
If you are learning how to build a practice wall in pickleball for the first time, buy extra screws, sandpaper, and touch up paint. Small things keep the project smooth.

Pickleball Practice Wall Plans: Options and Cost
Choose a build that matches your space and goals. Here are three solid plans I have built or coached others to build.
Basic garage mount
- Mount to existing studs
- 8 feet tall by 10 to 12 feet wide
- Cost ranges from 180 to 350 dollars
Freestanding outdoor panel
- Framed panel with a base and rear kickers at a forward lean
- 8 to 10 feet tall by 12 to 16 feet wide
- Cost ranges from 300 to 750 dollars
Premium modular system
- MDO face, acoustic layer, weatherproof paint, removable wheels
- 10 feet tall by 16 feet wide
- Cost ranges from 700 to 1,500 dollars
A clear budget also helps you plan how to build a practice wall in pickleball with fewer surprises.
Step-by-Step: How to Build a Practice Wall in Pickleball
Below are two proven builds. Pick one based on your location and skill with tools.
Indoor wall-mounted build
Planning and marking
- Find a clear wall. Avoid windows and electric panels.
- Use a stud finder and mark studs every 16 inches.
- Mark your final height and width. Aim for at least 8 feet tall and 10 feet wide.
Add backing and noise control
- Screw horizontal 2×4 nailers across the studs where seams will land.
- Staple a rubber mat or acoustic underlayment to the nailers.
Install the face
- Pre paint the plywood edges to seal them.
- Screw sheets to nailers with 1.75 to 2 inch screws, 8 inches apart.
- Stagger seams and fill gaps with wood filler. Sand smooth.
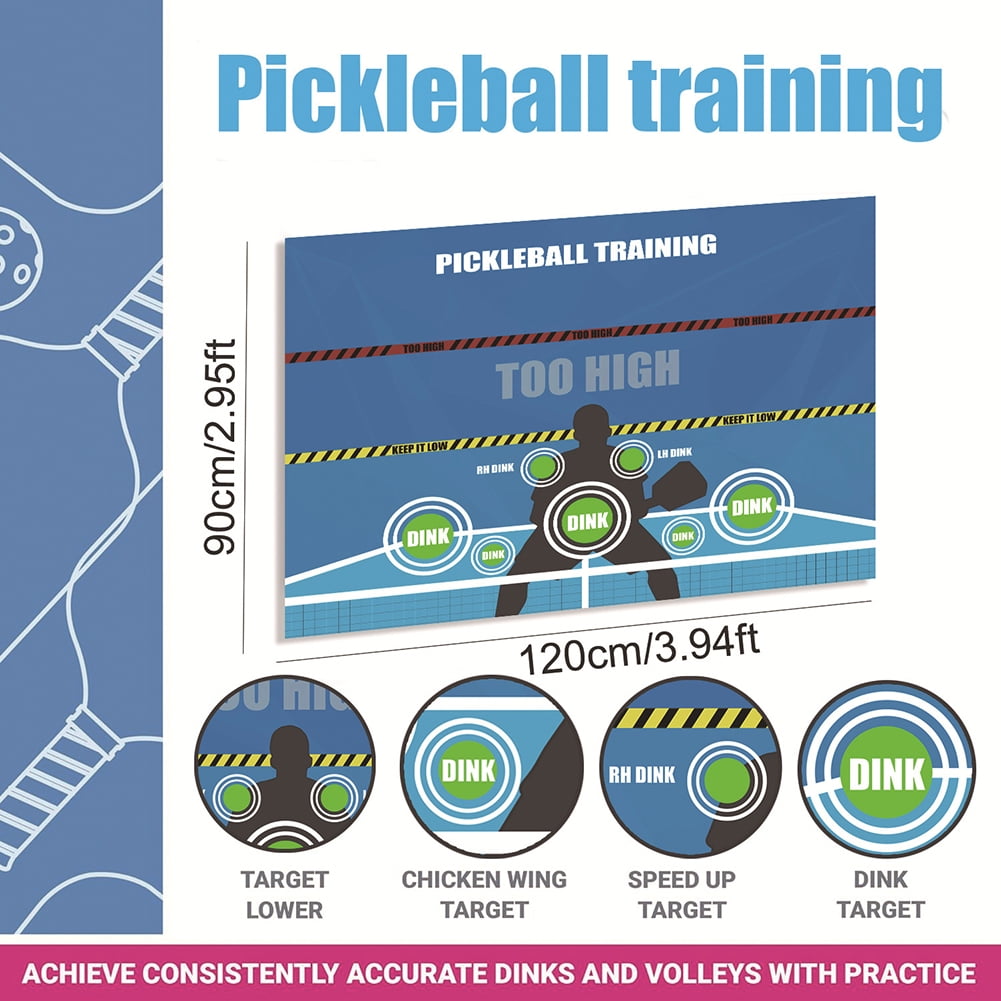
Finish and mark targets
- Prime and paint the wall. Two coats give a better bounce.
- Tape a net line at 36 inches from the floor.
- Add boxes for dinks and small circles for targets.
Testing
- Drop hit balls to check bounce. Add a slim spacer at the bottom if you need a slight forward lean.
- If the wall is loud, add more rubber behind the face between studs.
Outdoor freestanding build
Frame the panel
- Build a 2×4 frame the size of your wall. Add vertical studs every 16 inches.
- Attach the face panels to the frame with exterior screws.
Create the base
- Build a wide base from 2×4 or 2×6 boards. Add two layers for stiffness.
- Bolt the panel to the base with heavy angle brackets.
Set the forward lean
- Use rear kickers from the back of the panel to the base at about 10 to 15 degrees.
- Screw kickers into the studs with structural screws.
Anchor the base
- Place the base on a level slab or pavers.
- Use concrete anchors or long spikes to keep it from shifting.
Finish for weather
- Seal all edges with exterior caulk.
- Prime and paint with exterior paint.
- Add wheels on one side if you want to move it. Lock the wheels for play.
My first outdoor build tipped in a storm because I skipped anchors. Do not repeat that mistake. If you want to master how to build a practice wall in pickleball, anchor it well and set the lean before paint.
Smart Design Details That Make It Great
Angle
- A forward lean of 10 to 15 degrees gives a playable bounce.
- Less angle plays too hot. More angle kills the ball.
Height and width
- Minimum 8 by 12 feet. Bigger is better.
- If space is tight, 8 by 10 feet can still work for dinks and resets.
Surface and paint
- Semi gloss paint gives a lively but controlled rebound.
- A very glossy coat can be slippery in wet weather.
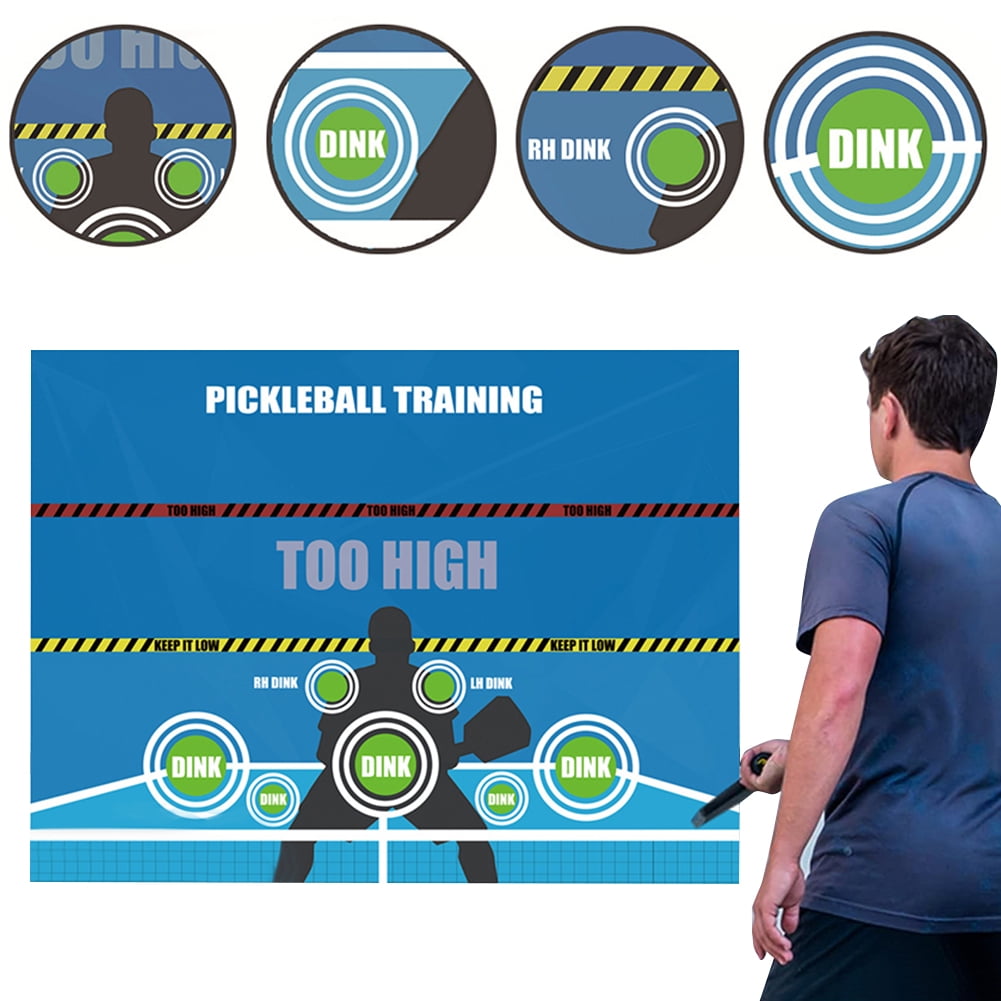
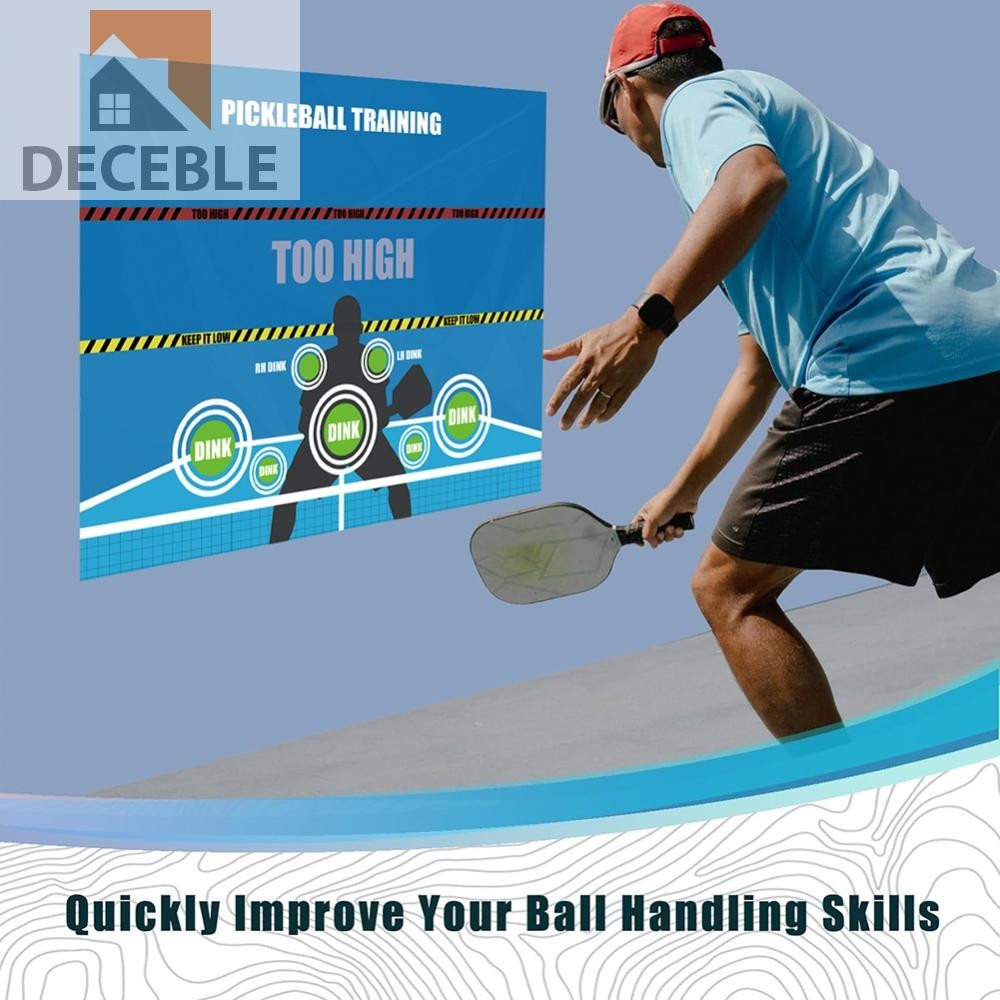
Targets and lines
- Mark a net line at 36 inches.
- Add a kitchen line box 7 feet from the base to cue footwork.
- Use colored dots for deep drives and third shot drops.
Lighting
- Overhead light reduces shadows and helps tracking.
- Use 4,000 to 5,000K LED lights for true ball color.
These details matter if you care about how to build a practice wall in pickleball that actually helps your game.
Safety, Rules, and Noise
Safety first
- Wear eye protection while cutting and drilling.
- Never stand behind the wall while someone hits.
Anchoring and permits
- Check local rules for freestanding structures.
- Keep the wall inside property lines and away from utilities.
Noise control
- Add rubber behind the face to cut the thud.
- Practice at reasonable hours. Your neighbors will thank you.
I always tell people who ask how to build a practice wall in pickleball to test noise before final paint. A quick few hits will tell you if you need more damping.
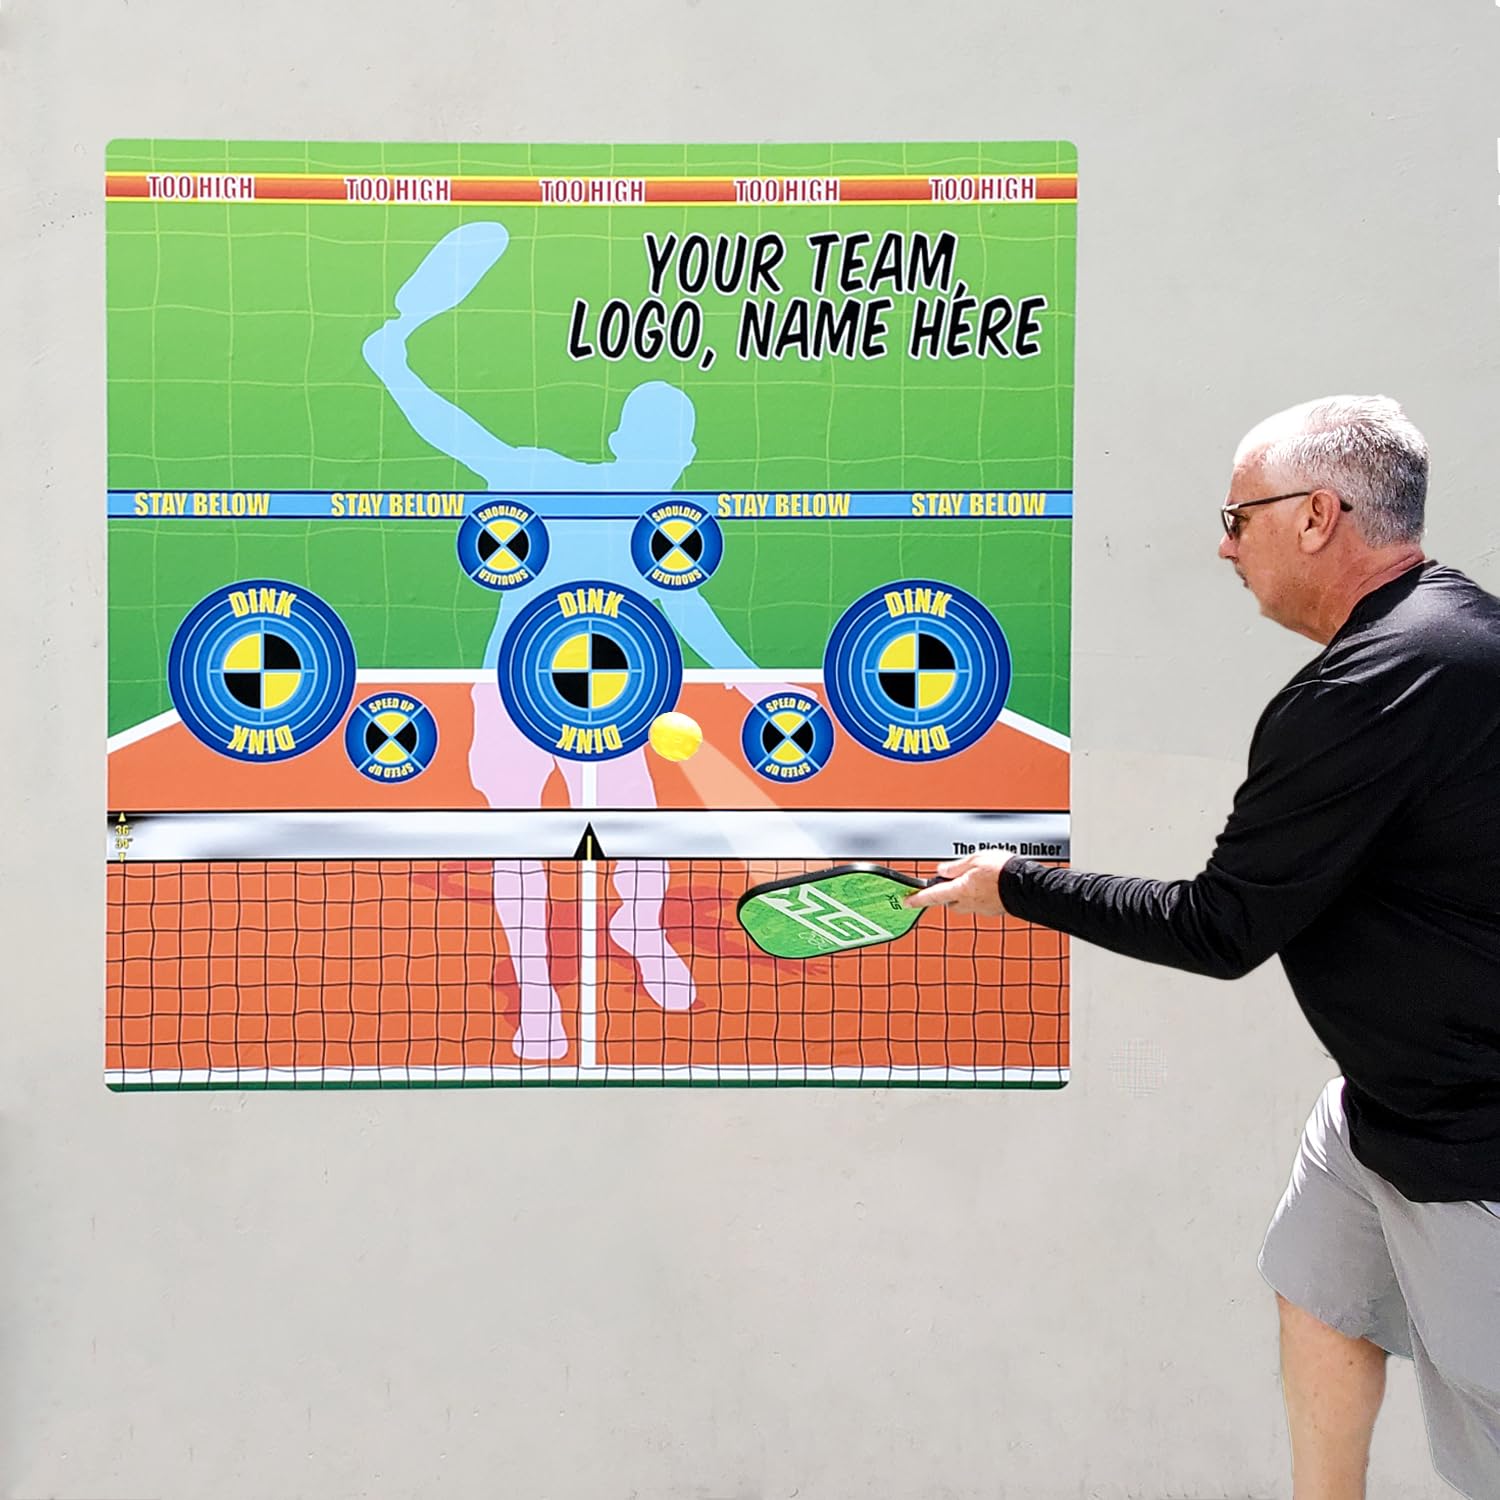
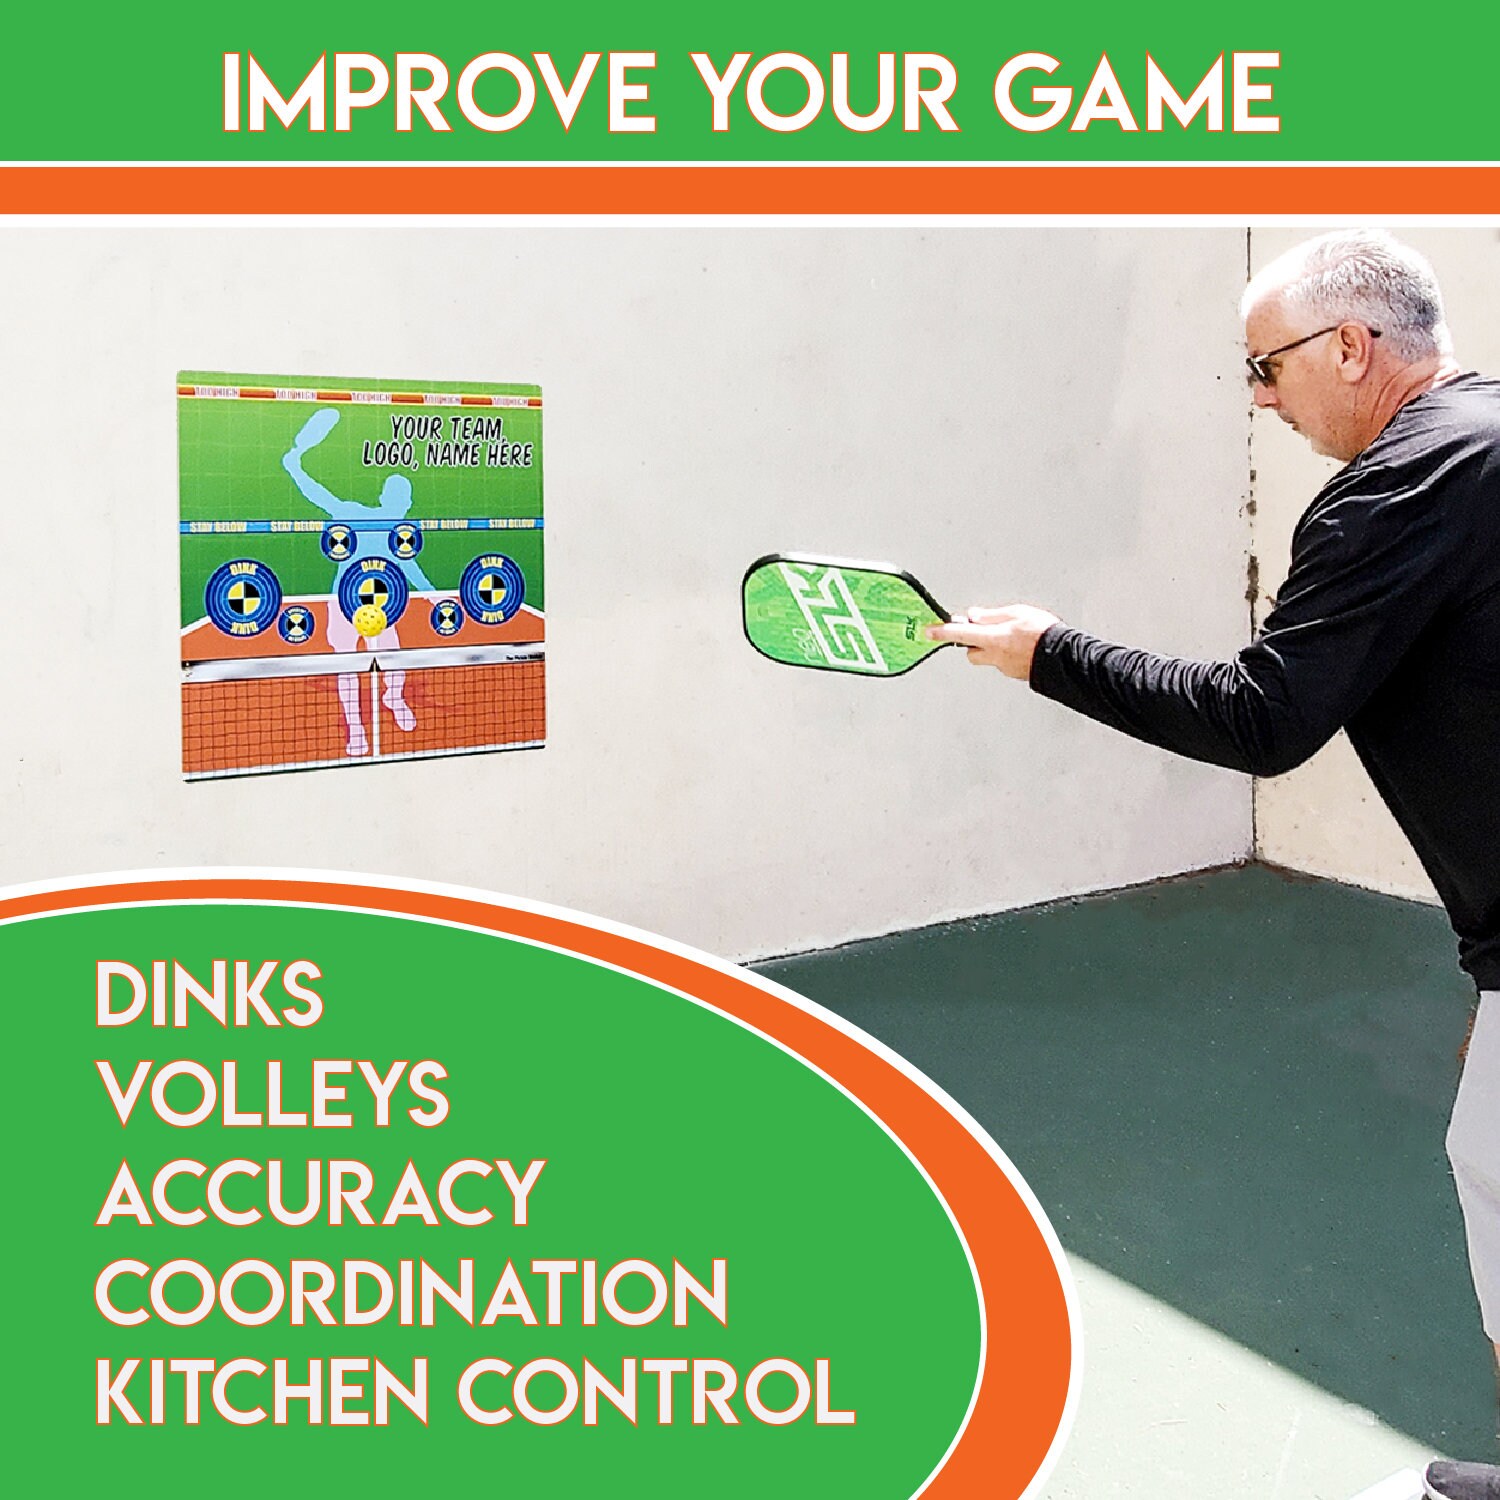
Drills to Use Your Wall
Use your wall like a coach who never gets tired. Start simple and build speed.
Warm up
- Forehand and backhand groundstrokes, 50 each
- Volley to volley at the net line, 50 total
Control drills
- Dink box targets, 5 sets of 20
- Third shot drop to a taped arc, 5 sets of 15
Footwork and reset
- Step in and reset from mid court, 3 sets of 60 seconds
- Two balls forehand, two balls backhand, for rhythm
Power and accuracy
- Deep drives to upper boxes, 3 sets of 20
- Serve toss and hit at a service target on the wall if space allows
A 20 minute session can change your touch fast. If you mastered how to build a practice wall in pickleball, now master these drills to get the payoff.

Maintenance and Upgrades
Keep your wall clean and tuned so it lasts.
Simple care
- Wipe ball marks with a magic eraser or mild soap.
- Check screws and anchors every month.
Weather care
- Recoat paint each season if outdoors.
- Reseal edges if you see swelling.
Upgrades
- Add a thin EVA foam underlay for quieter hits.
- Install a small shelf to hold balls, tape, and a timer.
- Add a camera mount to record swings and footwork.
This is part of learning how to build a practice wall in pickleball that stands up for years.
Budget and Time Estimates
Time
- Basic garage build takes 3 to 6 hours solo.
- Freestanding outdoor build takes 6 to 10 hours with a helper.
Cost levers
- Plywood and paint drive most of the cost.
- Acoustic layers and wheels are nice but optional.
Plan
- Buy once, cry once on paint and anchors.
- Pre cut parts to save time on install day.
These rough ranges help you plan how to build a practice wall in pickleball without stress.
Mistakes to Avoid and Pro Tips
Avoid these common pitfalls
- No forward lean makes the bounce too hot.
- Weak anchors let the wall shift or tip.
Pro tips
- Pre paint sheets on sawhorses for a smooth finish.
- Use a chalk line for straight net and kitchen markings.
- Keep spare balls in a bucket near the base to stay in rhythm.
When teaching friends how to build a practice wall in pickleball, I always stress the angle, anchors, and markings. These three details make the wall feel like a real opponent.
Frequently Asked Questions of how to build a practice wall in pickleball
What is the best angle for a pickleball practice wall?
A forward lean of 10 to 15 degrees works best. It softens the rebound and keeps shots playable.
What size should the wall be?
Aim for at least 8 feet tall and 12 feet wide. If space is tight, 8 by 10 feet still supports solid drills.
Which material gives the best bounce?
MDO or smooth plywood gives a consistent bounce. Prime and paint it well for durability and feel.
Can I build it in a small garage?
Yes. Use a wall mount build and protect cars with drop cloths. Keep the width to what you can clear.
How do I reduce noise for neighbors?
Add rubber behind the face and use a softer ball if needed. Practice at reasonable hours to keep peace.
Do I need a permit?
Most small freestanding walls do not need a permit, but rules vary. Check local codes and HOA rules before you build.
What paint finish should I use?
Semi gloss exterior paint is a good balance. It is durable and gives a clean rebound without too much shine.
Conclusion
You now know how to build a practice wall in pickleball that is safe, sturdy, and fun to use. Pick your plan, set a smart angle, anchor it well, and mark targets that guide good habits. Add simple drills and you will see control and confidence grow fast.
Take one step this week. Measure your space, buy supplies, or tape a net line. If this helped, subscribe for more pickleball build guides and leave a comment with your wall setup or questions.